Ledger.com/start: Step-by-Step Guide to Setting Up Your Ledger Wallet
Introduction
With the rapid growth of digital currencies, protecting your crypto has become more important than ever. Hardware wallets provide one of the safest ways to secure your funds, and Ledger is among the most trusted brands in the industry. Whether you purchased a Ledger Nano S Plus or a Ledger Nano X, the official place to begin the setup is Ledger.com/start. This page gives you all the necessary tools and instructions to configure your device in a secure and proper manner. This guide explains exactly what Ledger.com/start is, how to use it, and the essential steps required to set up and protect your wallet.
What Is Ledger.com/start?
Ledger.com/start is the official setup portal for all Ledger hardware wallets. It serves as a verified onboarding hub for new users, ensuring that you follow the correct process and avoid fraudulent websites. Because the crypto industry is full of imitation pages attempting to steal recovery phrases, Ledger uses this dedicated URL to guarantee your safety.
On this page, you will find:
Official Ledger Live download links
Device setup instructions
PIN code creation guidance
Recovery phrase information
Firmware update procedures
Ledger.com/start is designed to be simple, clear, and secure so that every user—beginner or advanced—can configure their wallet without risk.
Why Ledger Uses a Verified Setup Link
Crypto criminals often create deceptive websites pretending to be official Ledger pages. These sites attempt to steal login information or trick users into revealing their recovery words. The dedicated link Ledger.com/start eliminates confusion by giving customers one safe destination for everything related to setup.
Using the official page ensures:
Authentic software downloads
Accurate step-by-step instructions
Protection against phishing attacks
Secure device configuration
It is essential that new users avoid third-party links and always begin their setup through the official Ledger start page.
How to Complete Your Ledger Setup Using Ledger.com/start
Setting up a Ledger device is straightforward, but must be done carefully. Here is the complete process:
Step 1: Visit Ledger.com/start
Open your browser and manually type Ledger.com/start. Check that the spelling is correct in the address bar. Avoid clicking links from unknown websites or emails.
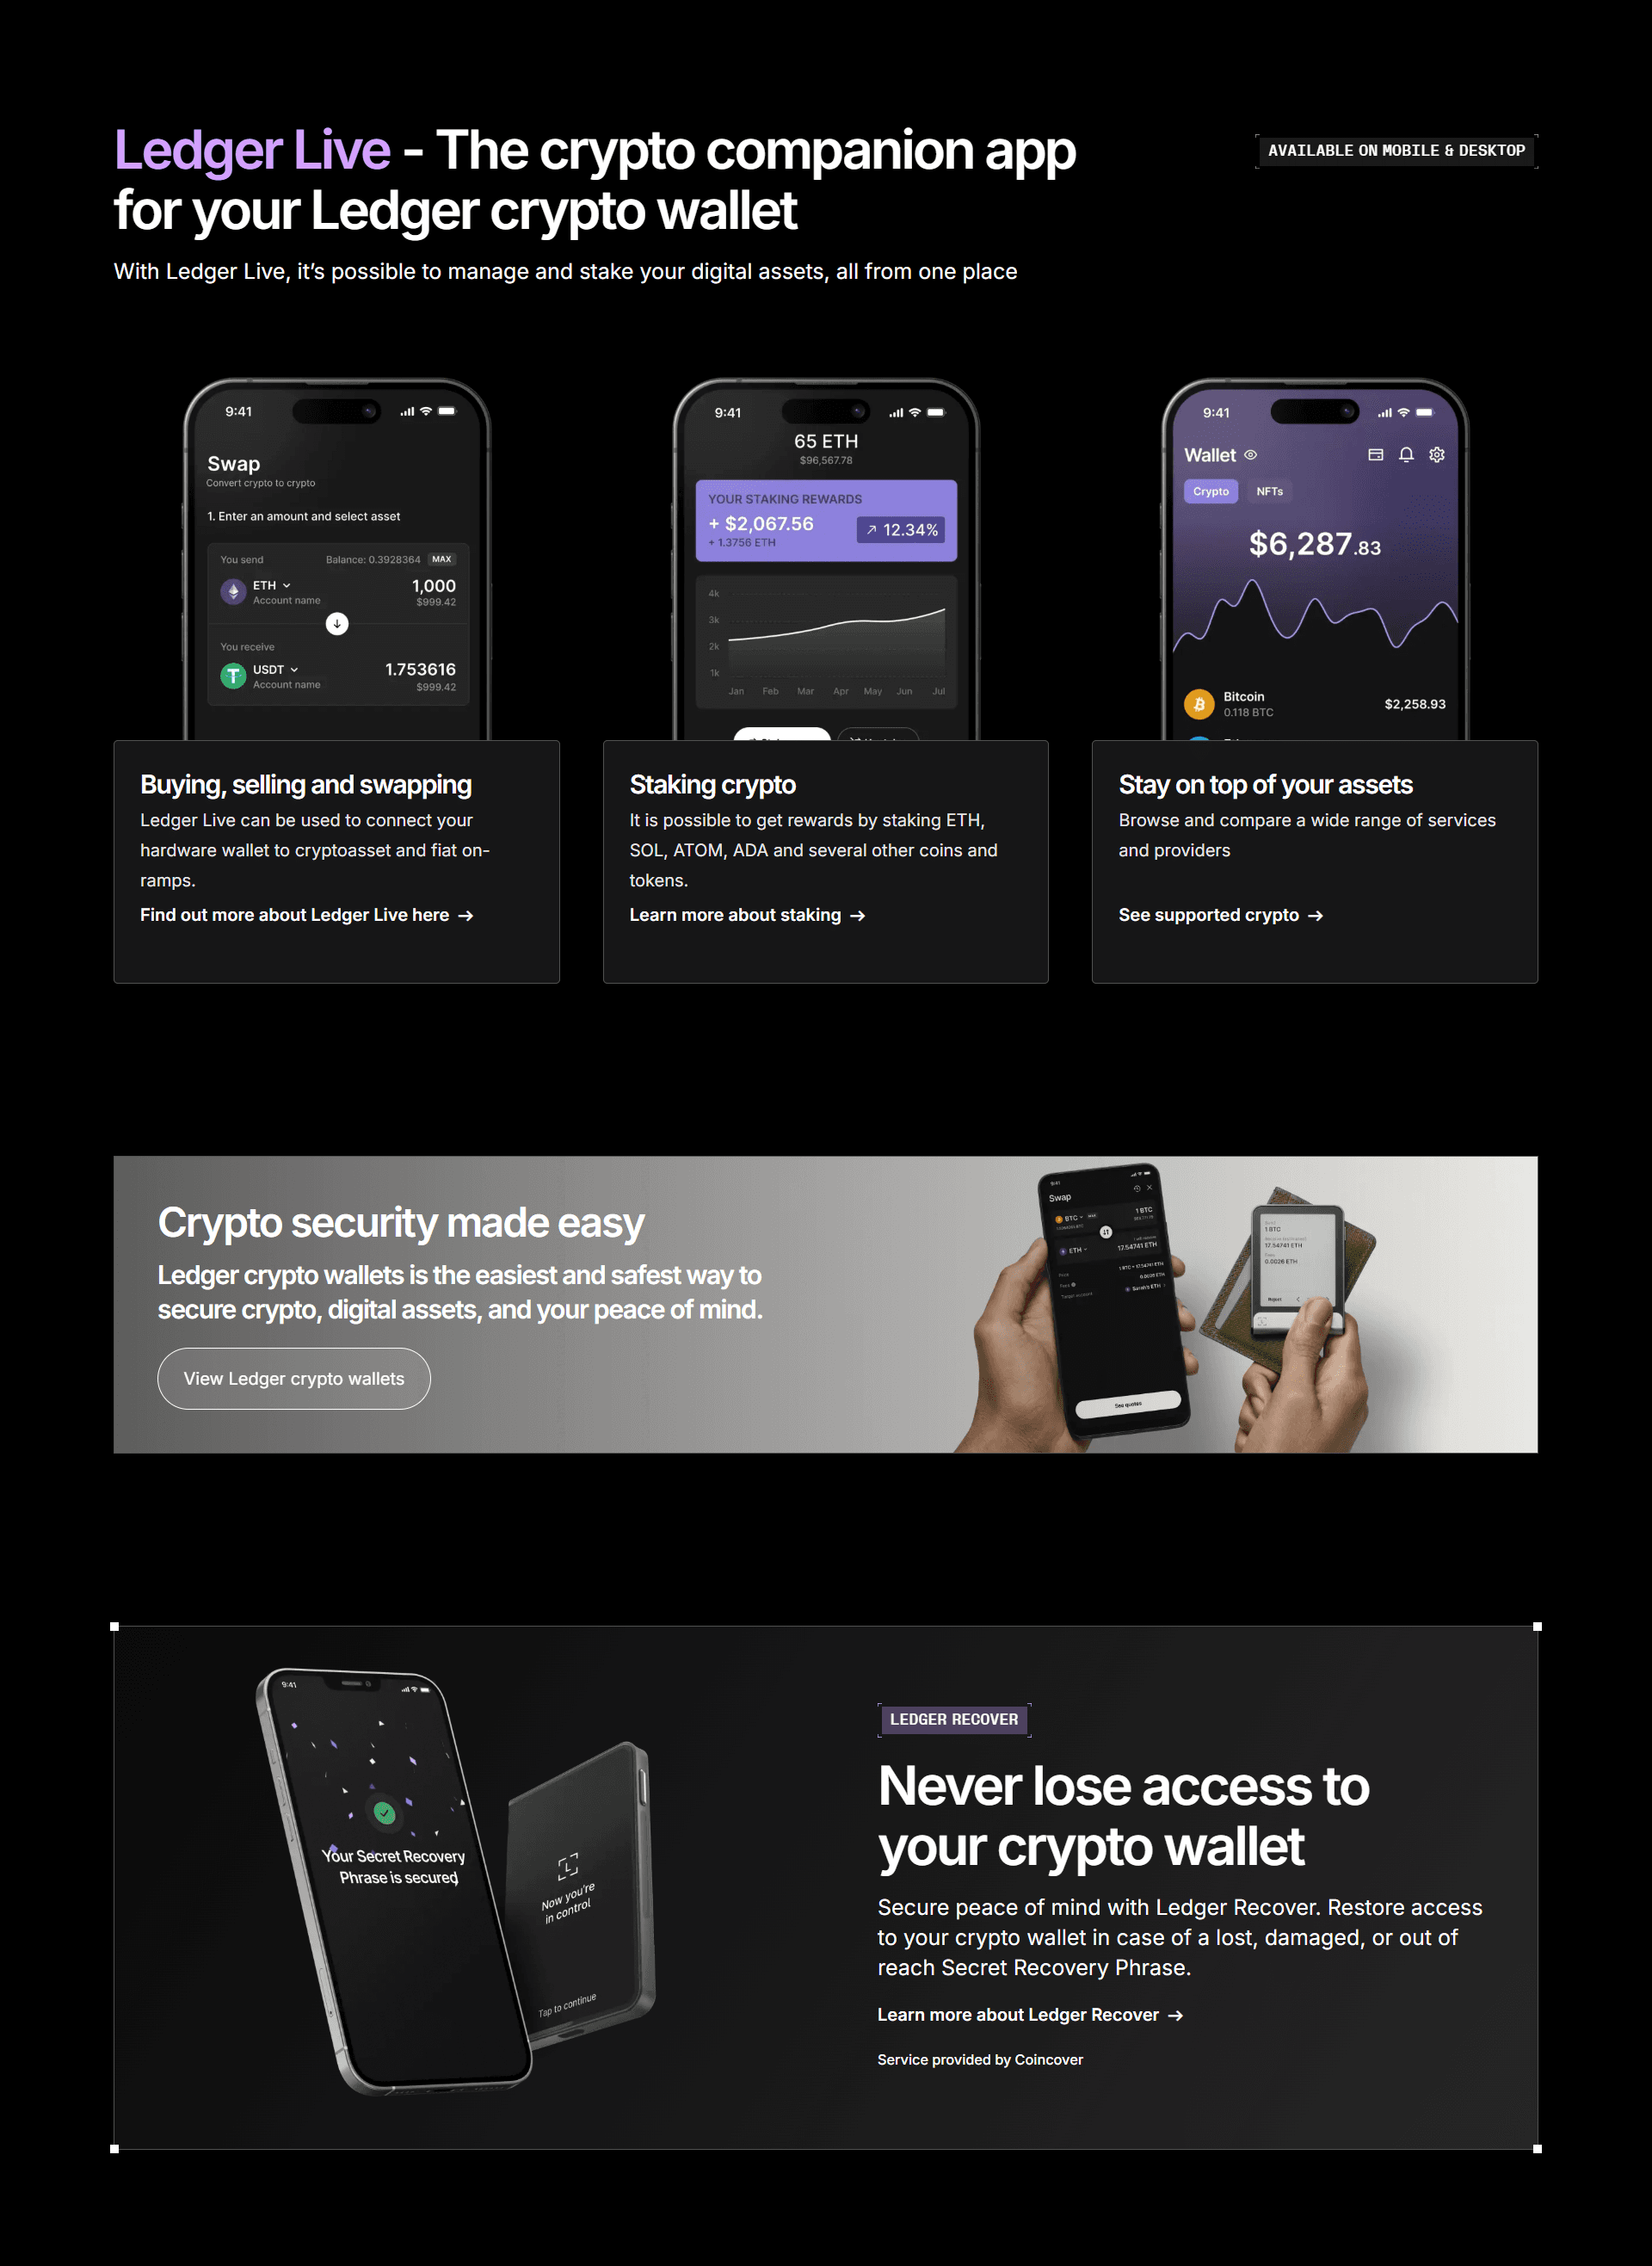
Step 2: Download Ledger Live
Ledger Live is the official desktop and mobile application that connects directly to your Ledger device. Through Ledger Live, you can manage assets, install apps, view balances, and update firmware. Download the version for Windows, macOS, Linux, or mobile depending on your device.
Step 3: Install Ledger Live
After the download finishes, install Ledger Live. When you open it for the first time, choose the option that says Set up new device. This ensures that your wallet generates new private keys unique to your Ledger.
Step 4: Select Your Ledger Model
You will be asked to choose between the Ledger Nano S Plus and Ledger Nano X. Selecting the correct device ensures the instructions match your model’s screen and buttons.
Step 5: Initialize the Device
Power on your Ledger and follow the instructions displayed on the screen. The device will ask whether you want to create a new wallet or restore an existing one. Choose Create a new wallet for first-time setup.
Step 6: Create a Secure PIN
Your Ledger will prompt you to create a PIN code. This PIN protects your device from unauthorized access. Choose a strong PIN that you can remember but others cannot guess. You must enter this PIN every time you use the device, so keep it private.
Step 7: Write Down Your Recovery Phrase
Your device will then display a 24-word recovery phrase. This phrase is the only backup to your wallet. If your Ledger is lost, damaged, or stolen, the recovery phrase is the only way to regain access.
Important rules for your recovery phrase:
Never store it digitally
Never take a photo of it
Never enter it on any website
Never share it with anyone
Ledger will NEVER ask for it
Write the words on the provided recovery sheet and store it in a safe, private location.
Step 8: Confirm the Recovery Phrase
Your Ledger will ask you to confirm the words in the exact order. This step ensures that you copied them correctly. If something doesn't match, the device will alert you.
Step 9: Install Crypto Apps
To manage different cryptocurrencies, you must install apps within Ledger Live. For example, the Bitcoin app is required to store BTC, and the Ethereum app is required to store ETH. Install the apps that match the currencies you plan to use.
Step 10: Add Accounts
After installing apps, you can add accounts in Ledger Live. Each account lets you send, receive, and view specific cryptocurrencies.
Step 11: Transfer and Manage Your Crypto
Once everything is set up, you can start receiving crypto into your Ledger wallet. All transactions must be confirmed on the device itself, making it much harder for hackers or malware to interfere.
Security Best Practices
To maintain long-term security, follow these important guidelines:
Keep your recovery phrase offline at all times
Only use Ledger Live from official sources
Regularly update firmware and Ledger Live
Verify transaction addresses before confirming
Avoid using your Ledger on unknown or public computers
Never share your PIN or recovery phrase
Following these practices helps ensure that your crypto portfolio stays safe from threats.
Conclusion
Ledger.com/start is the official and most secure entry point for setting up your Ledger hardware wallet. The platform provides all the guidance, downloads, and instructions you need to configure your device successfully. By following the steps carefully and practicing strong security habits, you can protect your digital assets and confidently manage your crypto with maximum safety.